Using Your Computer
to Make Decals
| |
Using Your Computer to Make Decals |
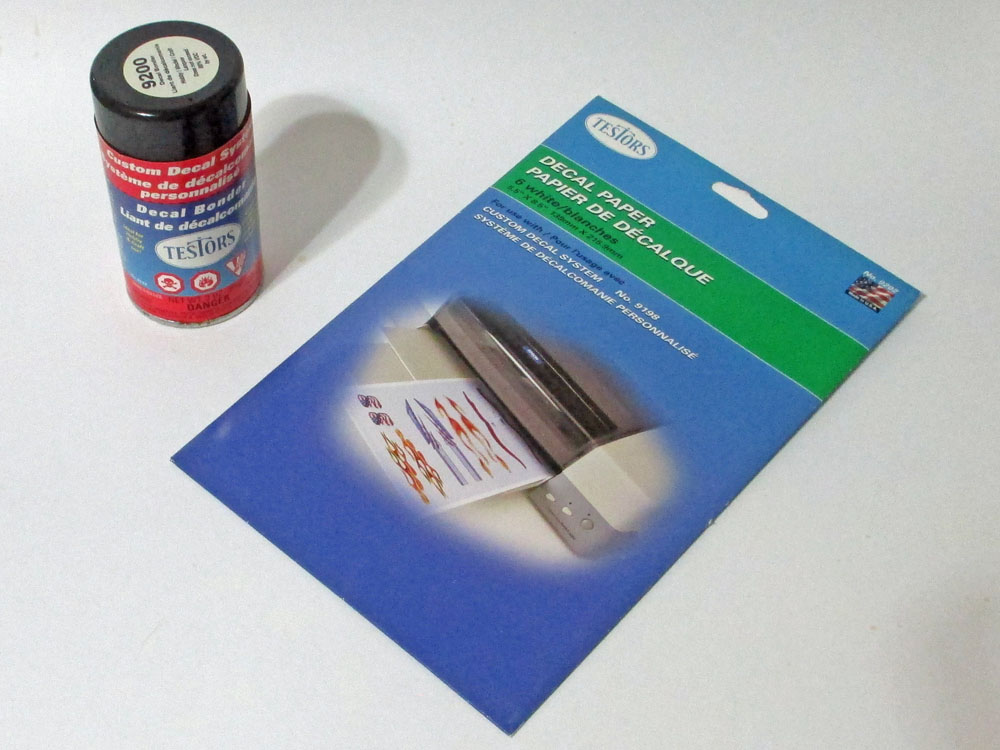 |
Making your own decals can add yet another resource to your model building bag of tricks. Here are a couple of applications, but I'm sure there are many more I haven't thought of. There are several choices for decal-making materials on the market. I use the system made by Testors, which includes decal paper that is printable on inkjet printers, and a lacquer coating that is applied to the printed images. The papers are available in both clear and white backgrounds, which makes it easy to create just about any custom image you want. You can design your own images, use photos, or find a virtually unlimited number of images online. If you can print it on your inkjet printer, you can make it into a decal. |
||||||||||||||||||||||||
Using Photos to Make Decals |
|||||||||||||||||||||||||
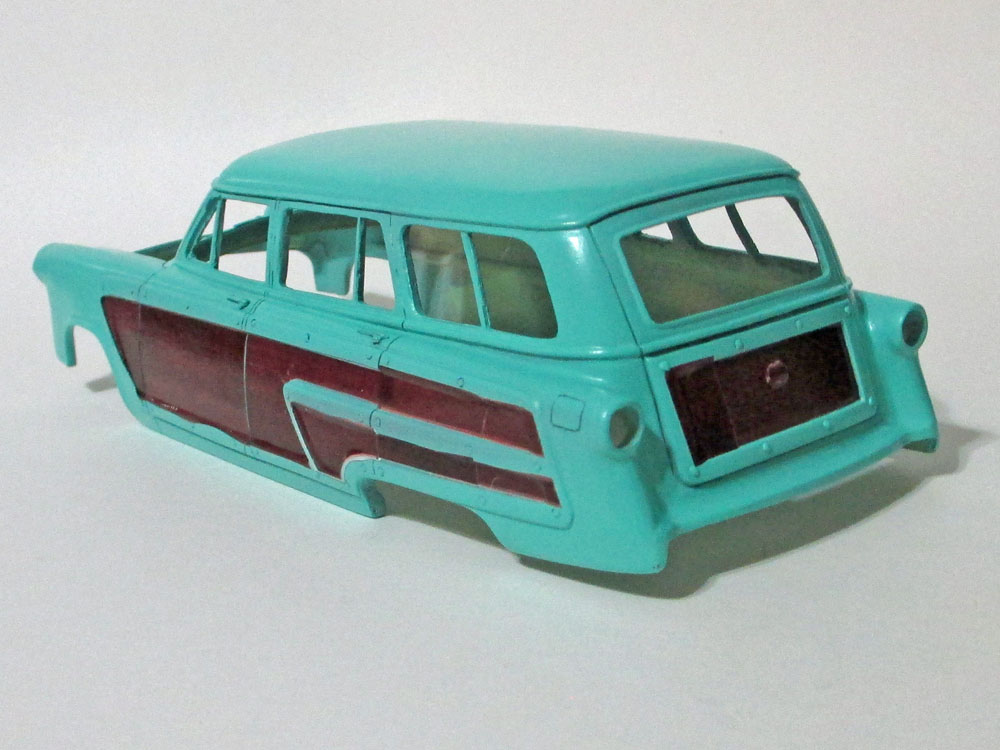 You can achieve a great deal of authenticity by using photos to create decals. This is the technique I used when I was building my '54 Ford Country Squire. |
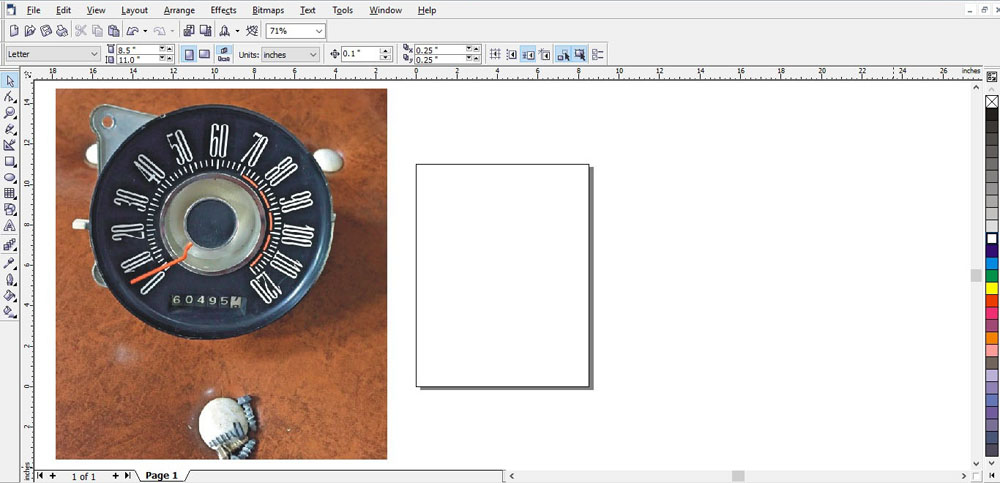
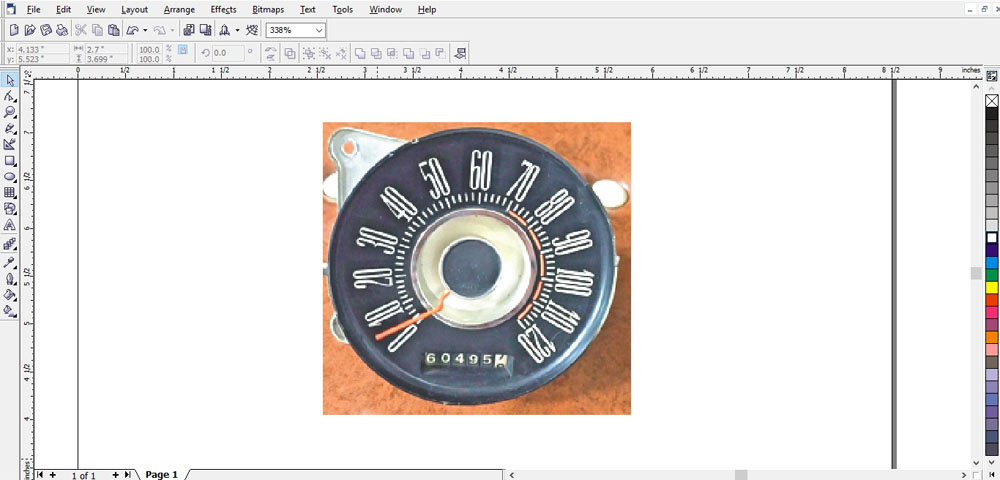
 I started by searching online for a suitable side view of the '54 Squire wagon. The image needed to be high resolution to ensure good reproduction. I imported the image into my Corel Draw® program. |
||||||||||||||||||||||||
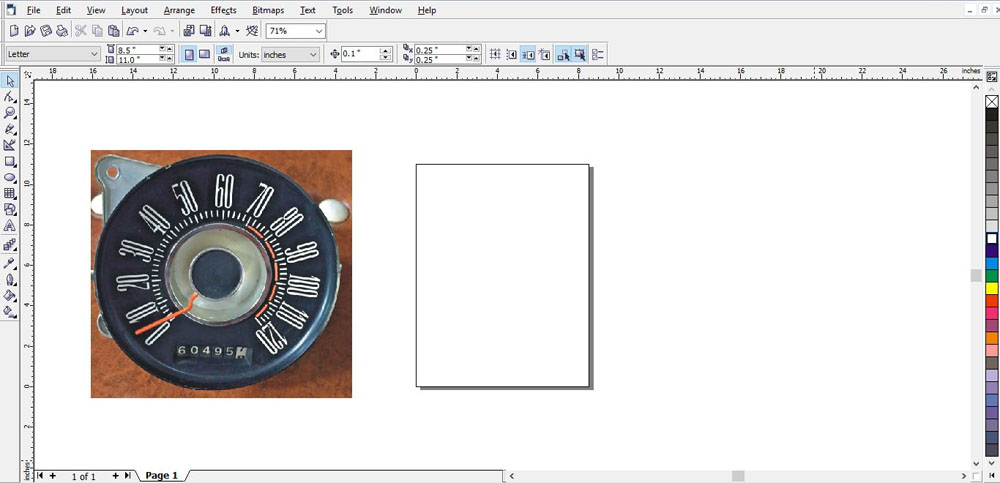
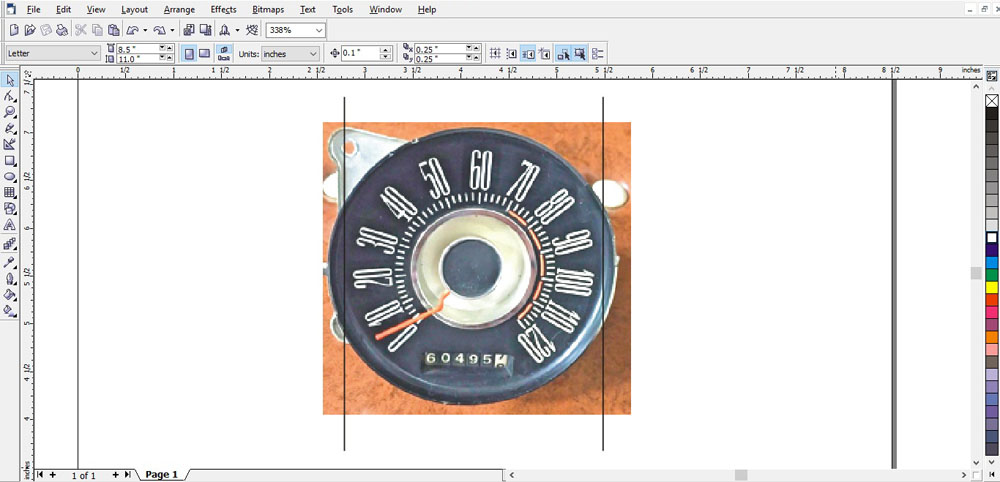
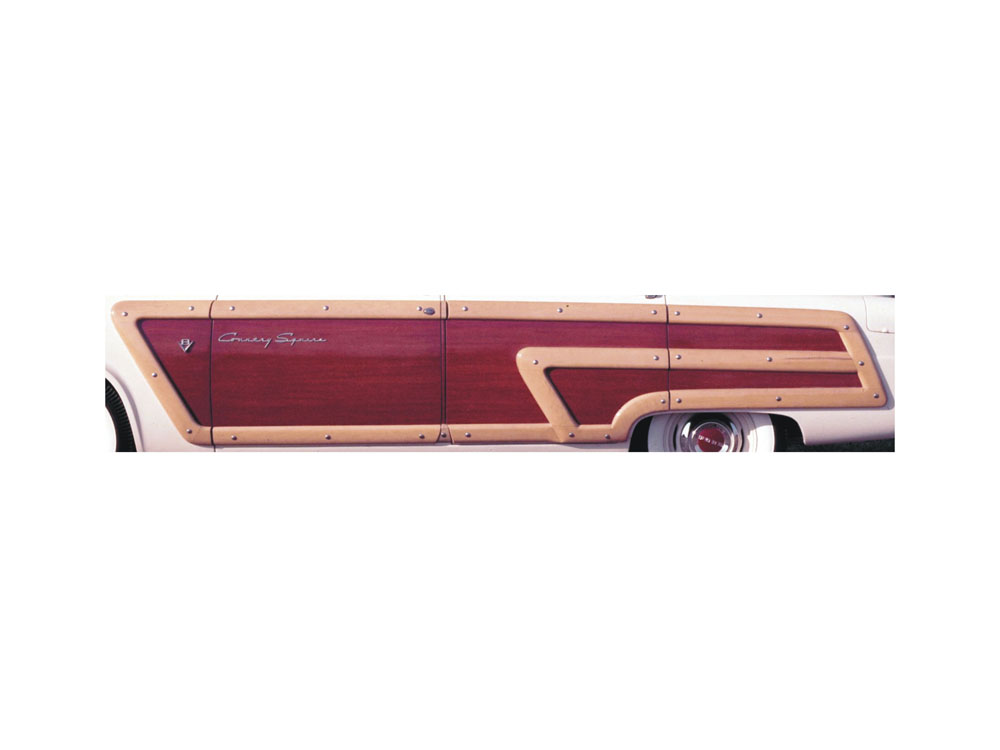
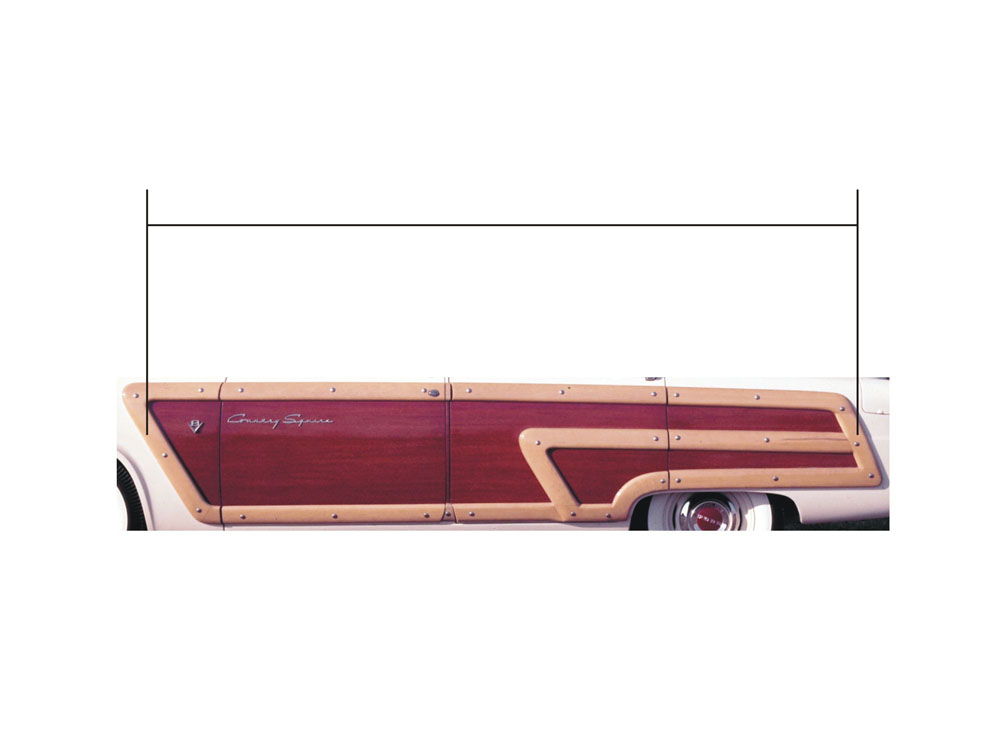 Then I measured the side of the Squire and resized the original image to the correct size. |
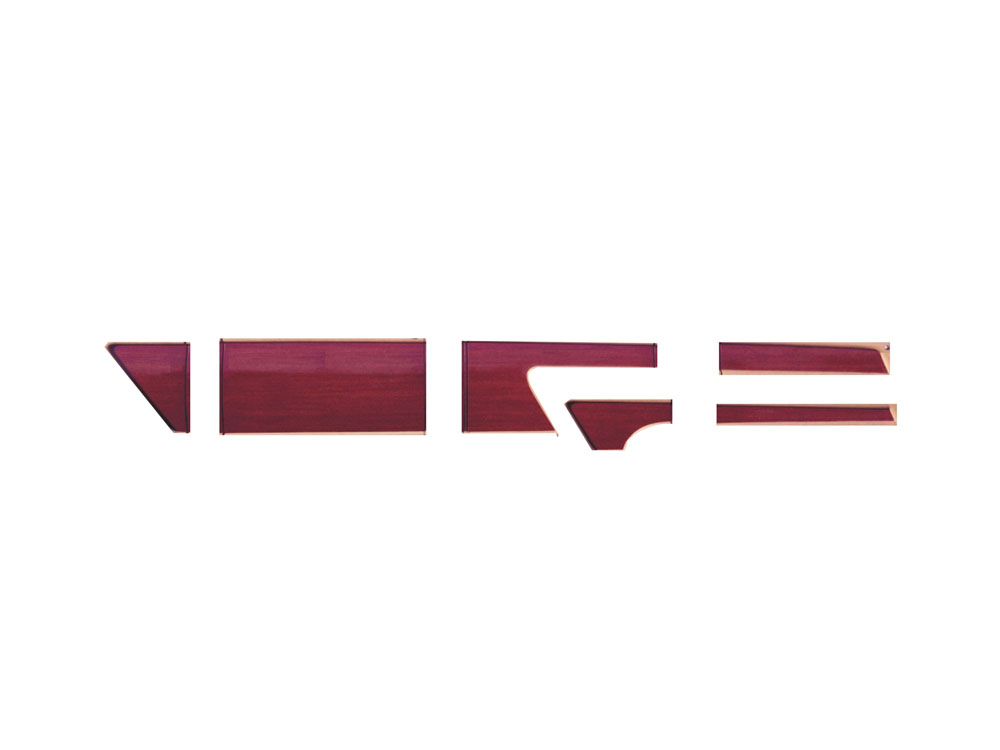 I knew in advance that I'd want to apply the decals in individual sections, so I broke the image apart and digitally trimmed each one down, leaving just a bit around the edges to allow for final trimming once the decals were printed. |
||||||||||||||||||||||||
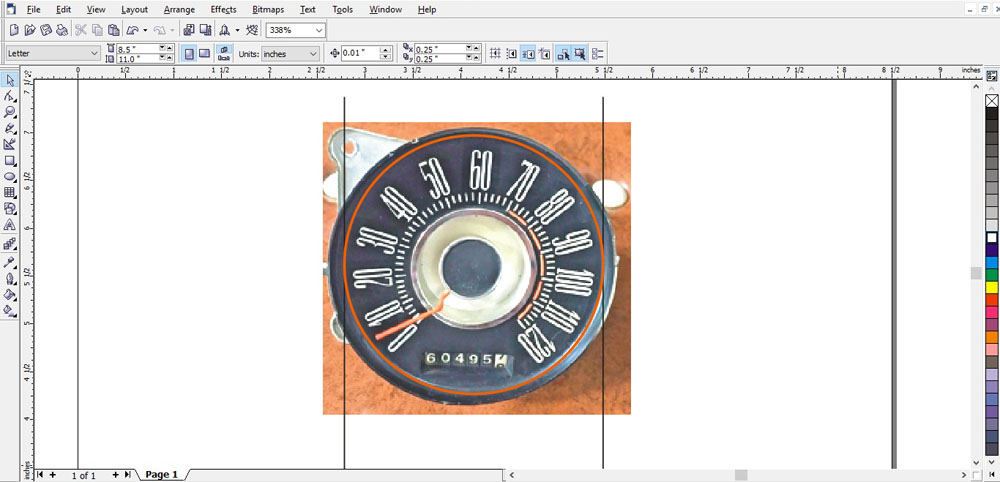
 Next, I duplicated and flipped the image. I also duplicated one of the larger panels to use on the tailgate. |
 Then I copied the entire design, and pasted it to make a second complete copy, so I would have a backup just in case. |
||||||||||||||||||||||||
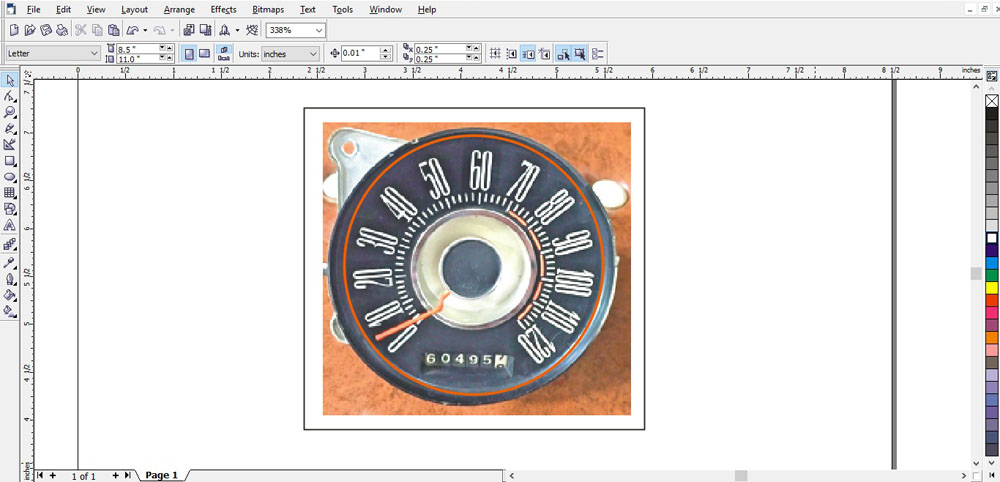
 Once everything was like I wanted, I printed the design out on the Testors decal paper. I let the printout dry for a couple of days and then applied three light coats of the Testors decal coating. Here's the finished product; one complete set of '54 Squire decals. |
One word of caution! Most of the time I use Solvaset decal setting solution when applying decals. When I used it on the Squire decals, I discovered that it was incompatible with the Testors system. The decals I had applied to the Squire body (Thankfully on one side only!) they almost immediately began to craze, soften and melt. I was really glad I had printed out a backup set, which I reapplied. I also used this method for the decals I used on my '57 Ford Country Squire. This technique can be useful for any number of situations.
|
||||||||||||||||||||||||
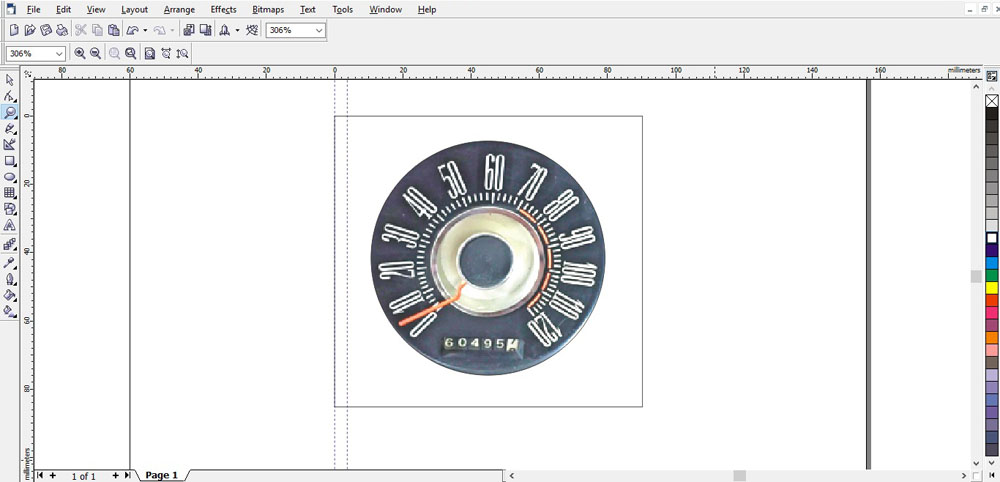
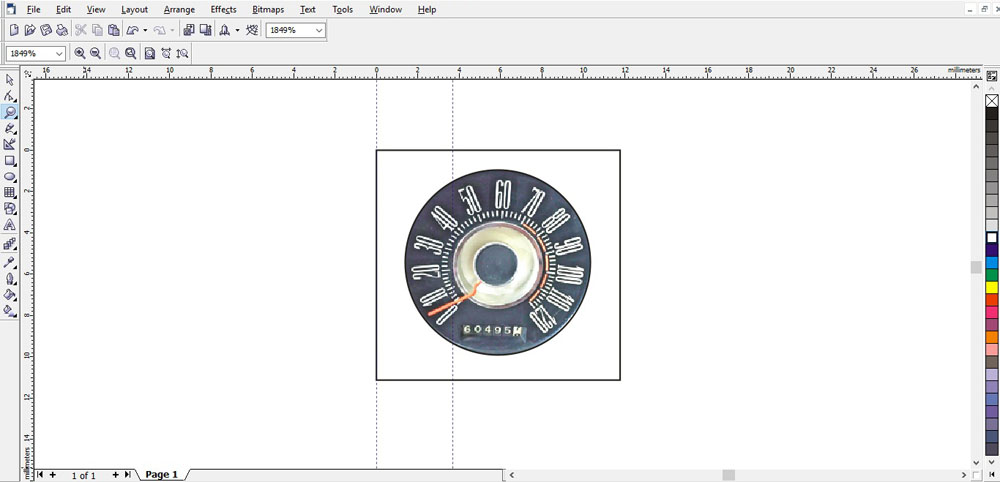
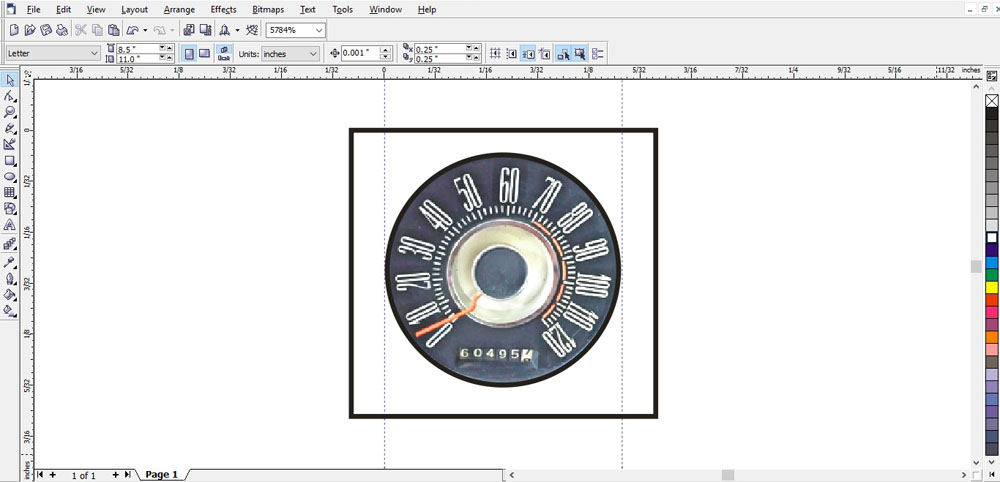
Decals for Detailing |
|||||||||||||||||||||||||
|
|||||||||||||||||||||||||
Designing Your Own Graphics |
|||||||||||||||||||||||||
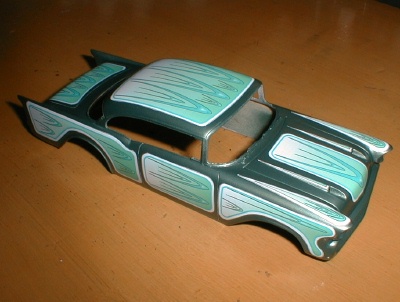 When
I was building my '57
Chevy Custom, I wanted to get a look inspired by the wild custom paint
jobs from the late 50s and early 60s. I could have taken a couple of approaches,
including some rather tedious masking and painting. But I decided to try
a different approach; I used my computer to design and print out decals. When
I was building my '57
Chevy Custom, I wanted to get a look inspired by the wild custom paint
jobs from the late 50s and early 60s. I could have taken a couple of approaches,
including some rather tedious masking and painting. But I decided to try
a different approach; I used my computer to design and print out decals. |
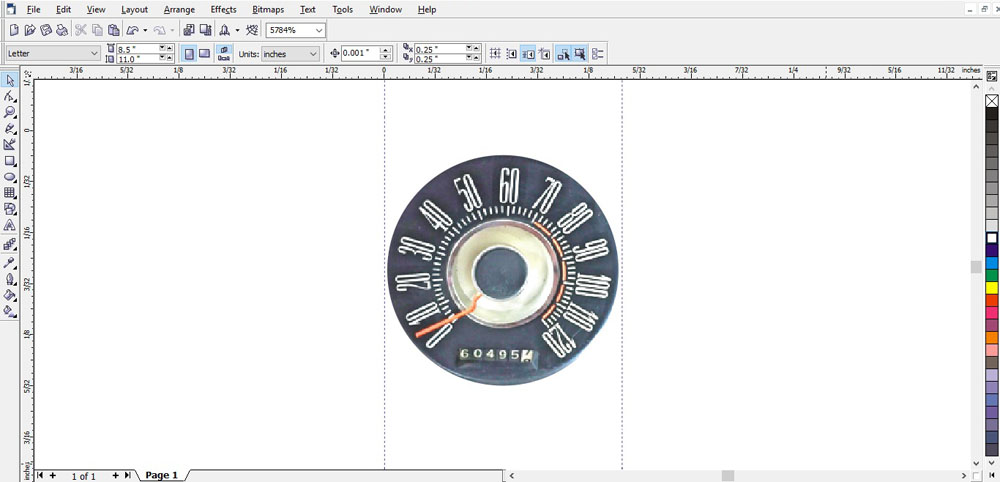
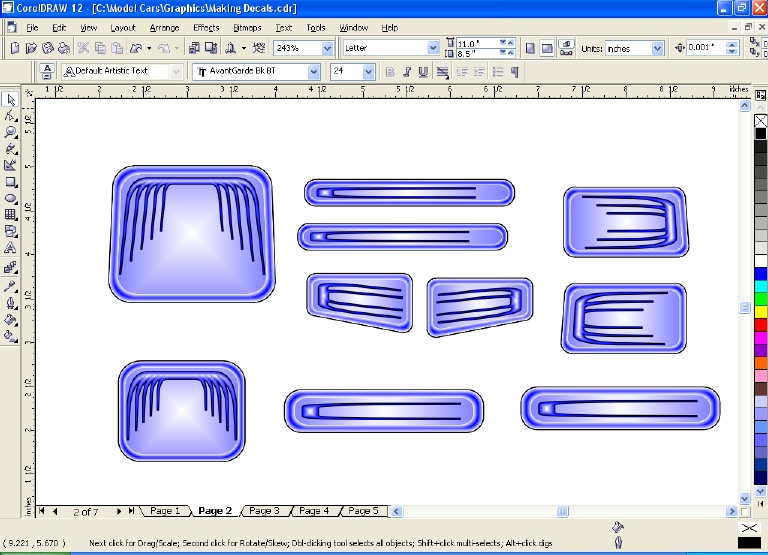
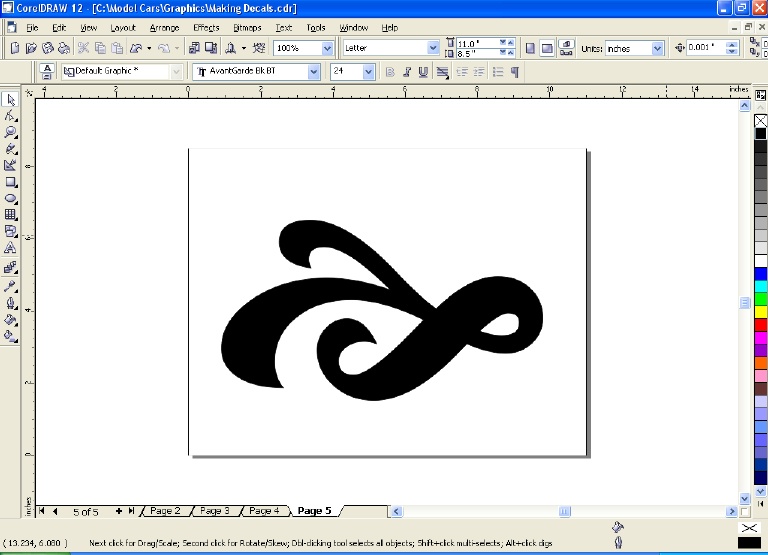 I generally use Corel Draw® for my graphic design work. But most any good graphics program will have similar features. I started out by selecting an image from the clip art file that looked like a good basis for a design. I would normally use just an outline of the image and fill it later with one or more colors, but for this example I've filled it with black so it shows up better. |
||||||||||||||||||||||||
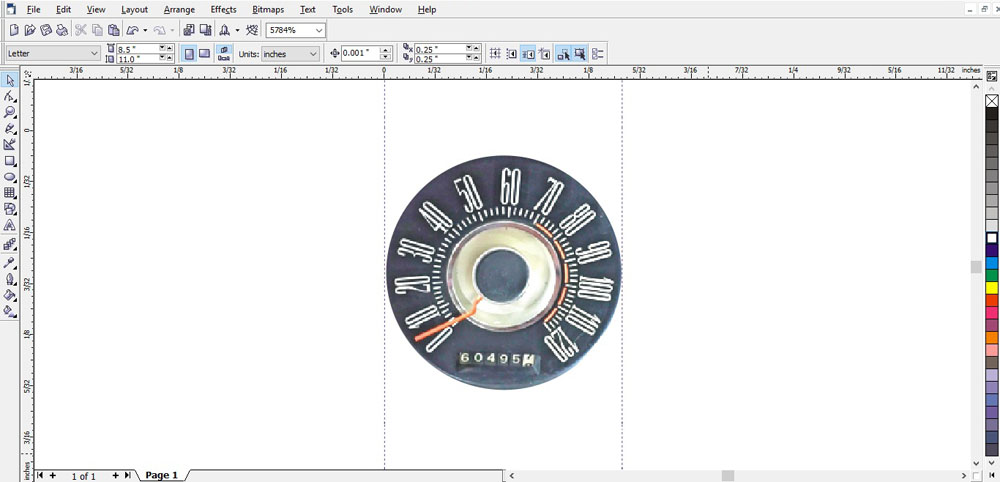
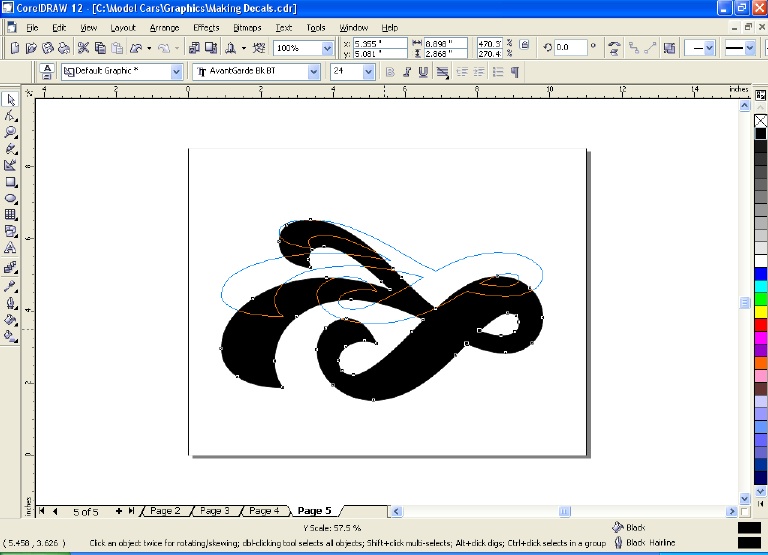 Next I used
some of the image altering features of the program to change the shape;
in this example I reduced the height. The blue outline shows what the new
shape will be. Next I used
some of the image altering features of the program to change the shape;
in this example I reduced the height. The blue outline shows what the new
shape will be. |
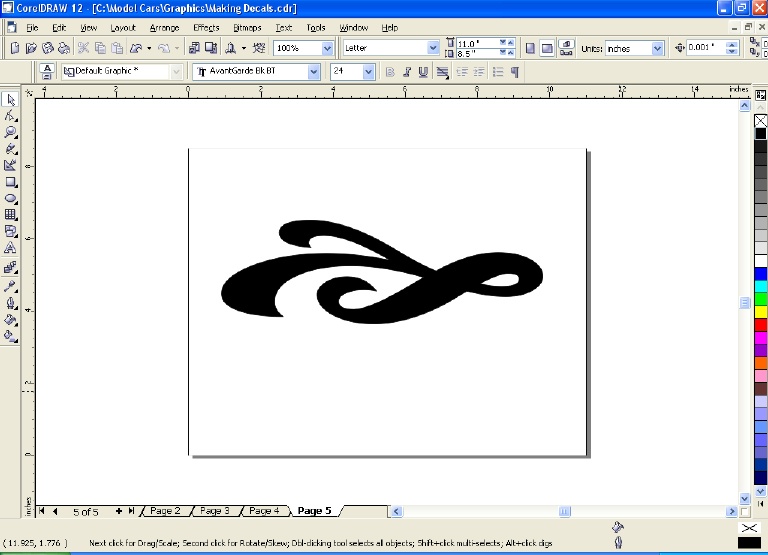 And here's the result. |
||||||||||||||||||||||||
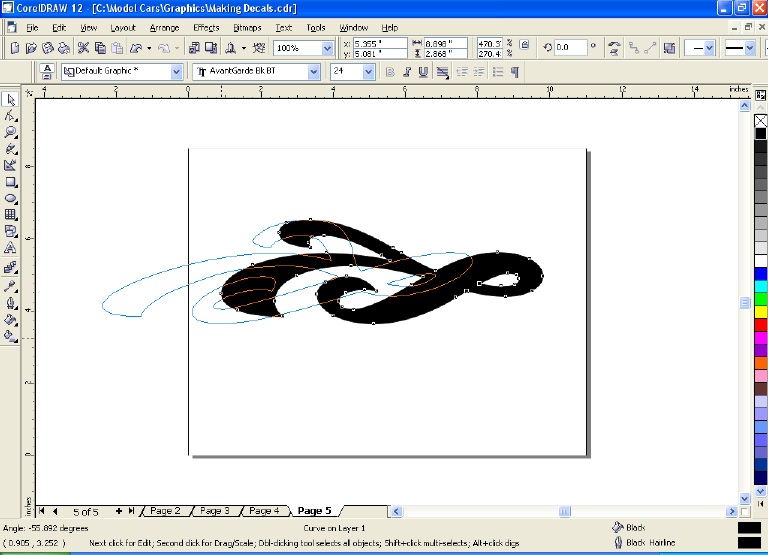 I used the "skew" command to stretch it out... I used the "skew" command to stretch it out... |
 ...with this result. You can alter the size and shape of images in this fashion, pretty much at will. |
||||||||||||||||||||||||
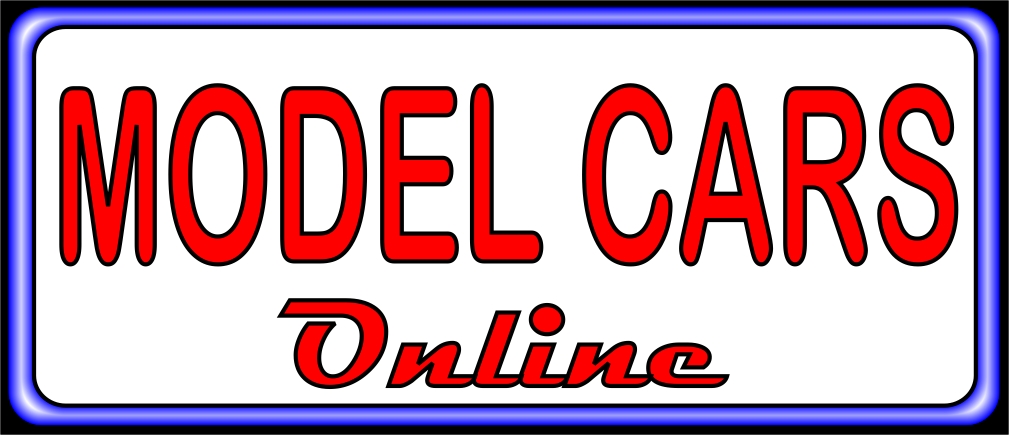
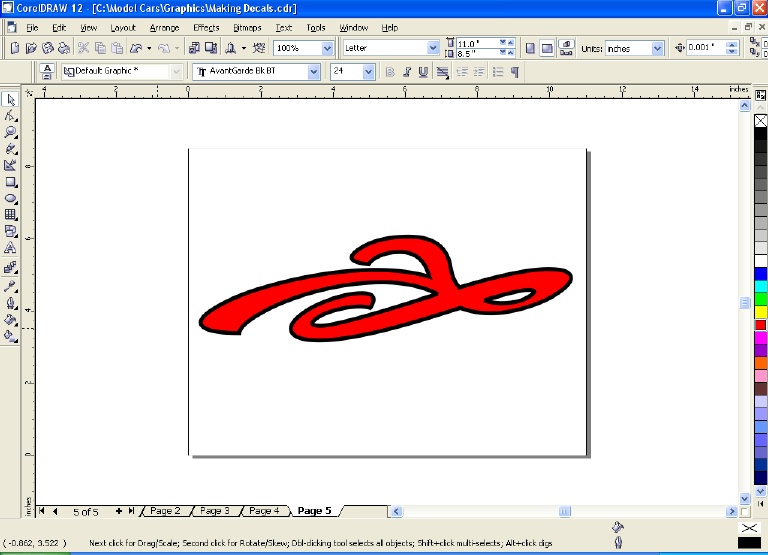 Once I had the shape I wanted, I filled the image with red and added a heavy black outline. You can continue to make changes until you get just what you want. Once I had the shape I wanted, I filled the image with red and added a heavy black outline. You can continue to make changes until you get just what you want. |
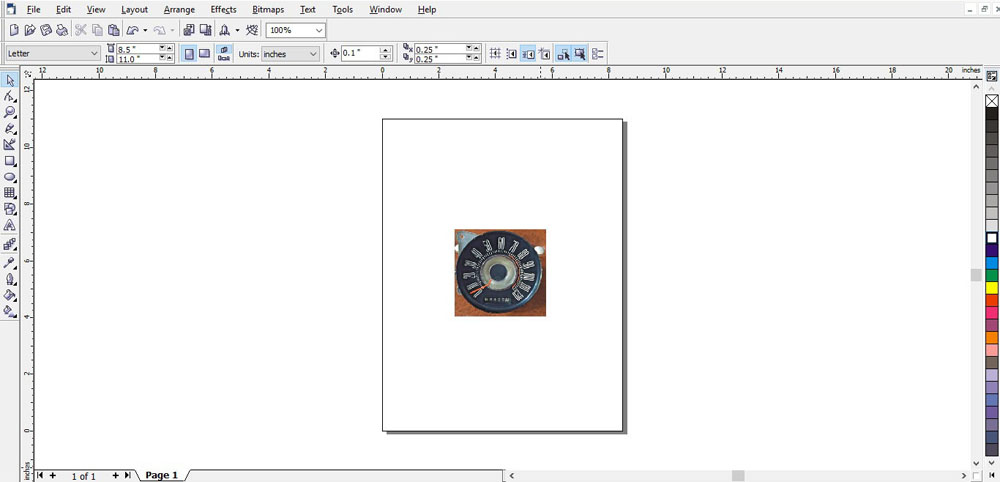
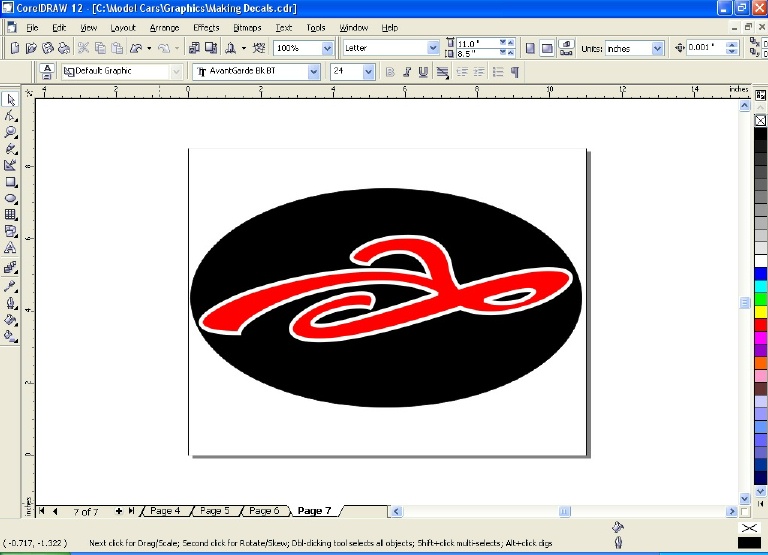 Here I've added a black oval behind the image and changed the image outline to white. Once you've finished creating the image you want, it's time to resize it to fit the area where the finished decal will be placed. |
||||||||||||||||||||||||
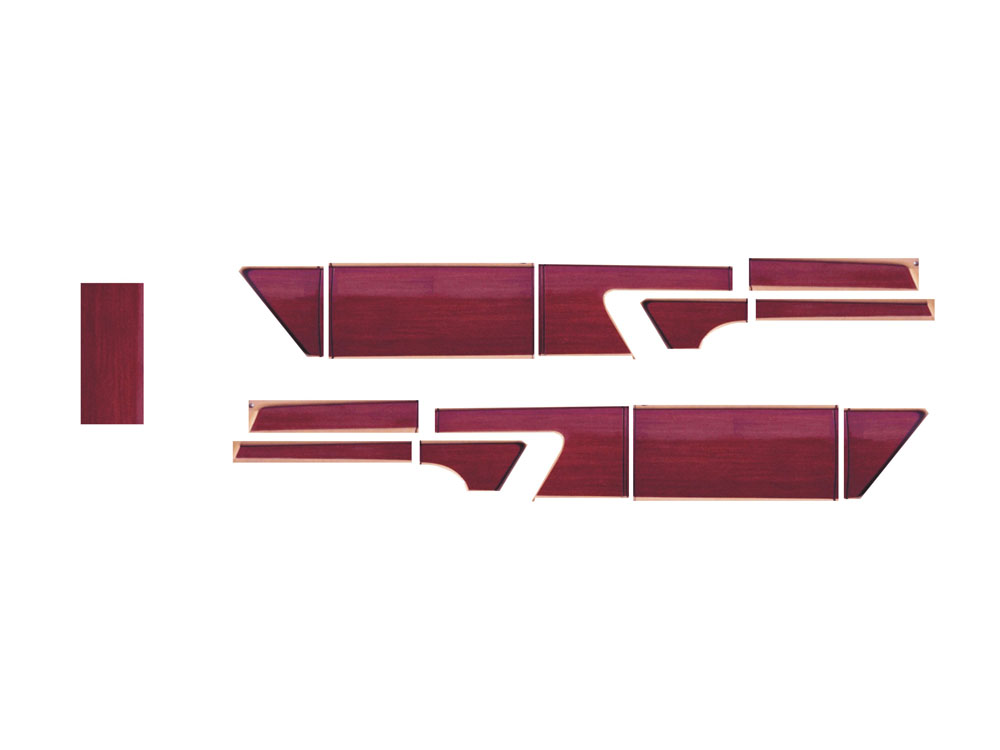
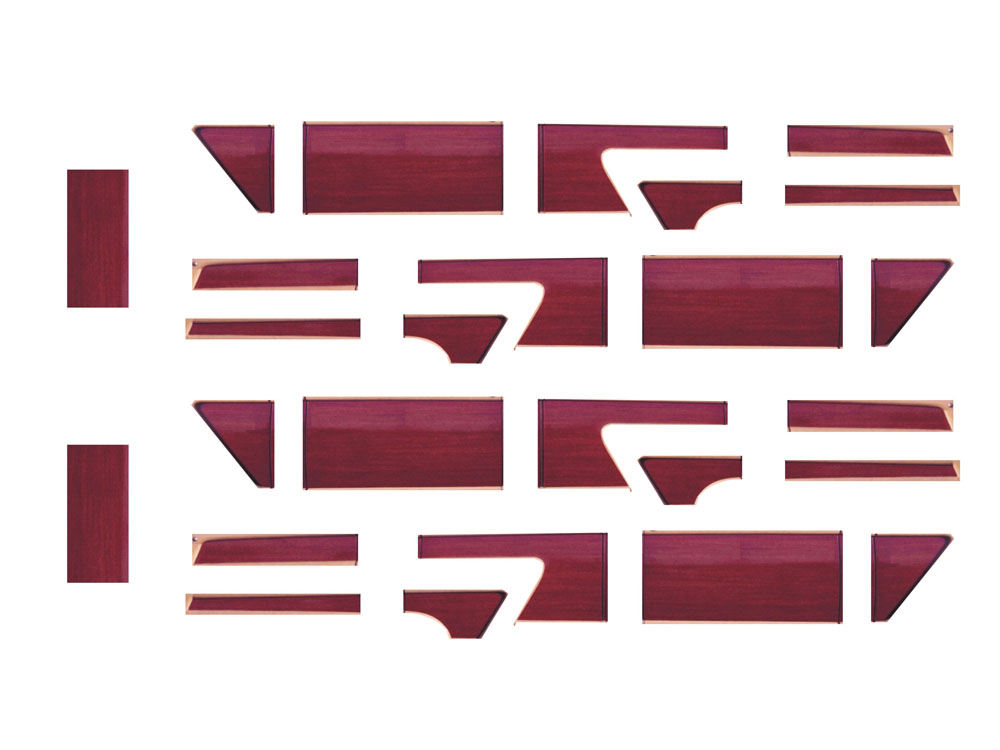
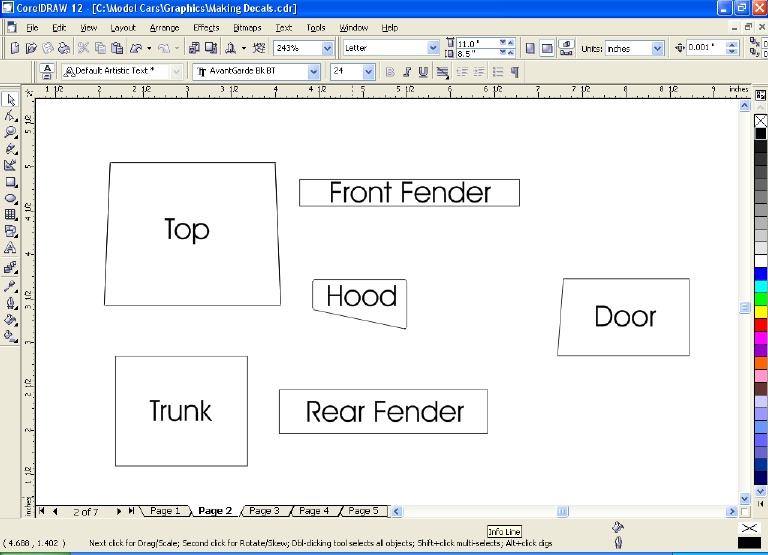 I designed some decals for a '32 Ford street rod using this method. After I had the basic designs done and was ready to resize the images, I created a template for the areas where the decals would be placed. I designed some decals for a '32 Ford street rod using this method. After I had the basic designs done and was ready to resize the images, I created a template for the areas where the decals would be placed. |
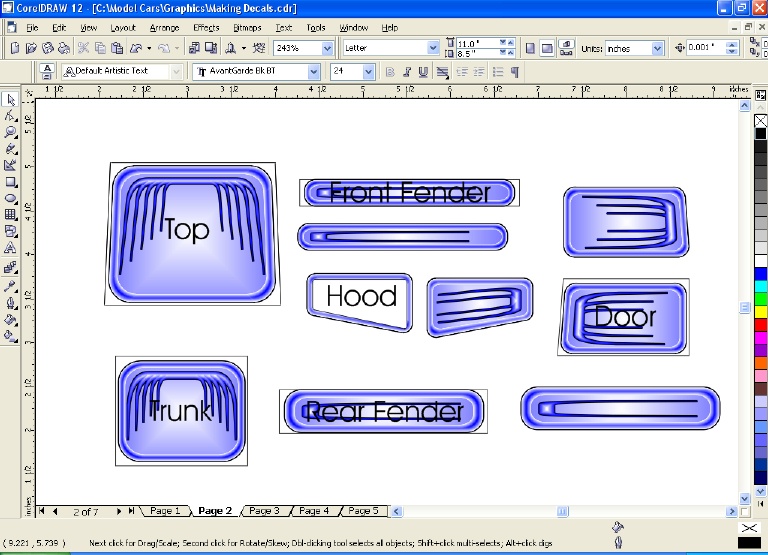 Here you see the finished images placed over the template and resized to fit. Almost time to print them out! |
||||||||||||||||||||||||
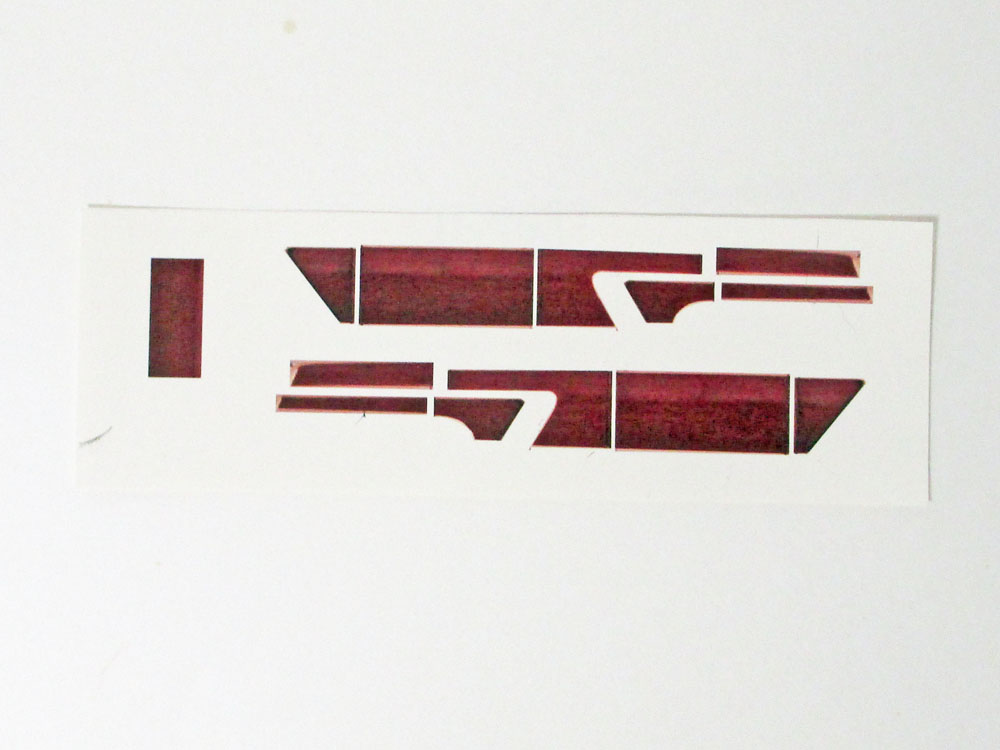
 The last step was to delete the template and print out the image on decal paper. Be sure to follow the manufacturers instructions for printing, preparing and applying the finished decals. |
A word about decal paper...it's available in both clear and white. If you have light colors and/or white in your images you should use the white. As is usually the case, experimentation is always a good idea. You can use this same basic technique to make decals of just about anything. Find some cool graphics, art work, photos, whatever, resize them in a graphics program and then print them out. The sky's the limit! |
||||||||||||||||||||||||